There’s nothing worse than waking up in the middle of the night with your back against the cold ground. Your spine contorts to the uneven, perhaps rocky surface. Your pelvis grinds into the earth. By the time morning comes, you haven’t slept at a wink.
To avoid nights like these, many backpackers carry a small patch kit for inflatable sleeping pads, just in case they puncture or rip their pad along the way.
But, carrying the kit is only half the battle. It’s also important to know how to actually use the patches — to fix a leaking sleeping pad, or any other gear repairs that might be necessary in the field, like a ripped puffy jacket or a puncture in a shelter.
1. Find the Hole

The first, and possibly the most difficult part of patching an air mattress, is finding the hole. On some pads, the puncture will be immediately visible. Other leaks may be extremely slow and barely noticeable to the naked eye.
In these cases, it can be helpful to have a body of water nearby. Take your inflated sleeping pad to a lake, pool or bathtub. Then submerge it in the water and look for air bubbles. This can help you to identify the hole. Be sure to mark it!
You may be able to hear the leak, as well, depending on the material of your sleeping pad and the size of the hole. Also, if you’re struggling to find the culprit of your leak, be sure to check the air valve — both the valve itself and the area where it’s attached to the pad. This is often the source of problems.
2. Clean and Dry the Hole
Once you’ve identified the location of the puncture, the next step before patching is to clean the area surrounding the hole. This can be done by wiping the region with an alcohol swab. Then let it dry to create the best possible adhesive for your patch.
3. Cut Your Patch to Size

Many brands provide a patch kit with the purchase of a sleeping pad. You can also find patch kits or patch material at most gear stores. Some patch options come pre-cut. But if you’re working with a sheet or roll of Tenacious Tape or similar, you’ll need to cut your patch to size. This can provide an opportunity to get creative with your designs, and add a bit of Hiker Trash flair. Or, you might opt to use a classic, round shape. Round patches tend to perform better than other options because they don’t have corners that can easily be peeled back during use.
You’ll want your patch to entirely cover the hole, plus some. There’s no scientific formula here, but I tend to give about a half-inch circumference for small holes.
4. Affix the Patch to the Surface of Your Sleeping Pad (or Other Gear)

You can peel and stick most patches. Remove the film from the back of the patch, and place it evenly across the hole. Hold it in place for about 30 seconds, unless otherwise directed by the kit. Older patch kits might involve applying an adhesive, but these systems can be messy and ineffective, so I tend to favor kits with a sticky film.
5. Test the Patch Job
If you have the opportunity to test your patch job before you’re in the backcountry again, do it! Most of the time, they’ll work out, and you won’t have to make any adjustments after your first patch job. But, every once in a while, you might find that you have multiple leaks or that a patch didn’t seal appropriately. It’s better to find this out when you’re not in the wilderness, if possible.
Additional Tips and Tricks
- Keep in mind that air expands when heated, and it shrinks when it’s cold. So, even fully-functioning air mattresses are prone to losing a little bit of toughness on chilly nights. Before you jump to conclusions, you should ask yourself whether the loss of air is normal or excessive. I always like to top off my air pad before crawling into my sleeping bag at night, knowing it naturally will have lost some of its firmness from when I first filled it.
- In a pinch, you might be able to successfully patch a hole with materials like duct tape, Leukotape or shoe goo. But these methods are usually not long-lived solutions, and they may even void the manufacturer’s warranty when applied to the air pad.
-
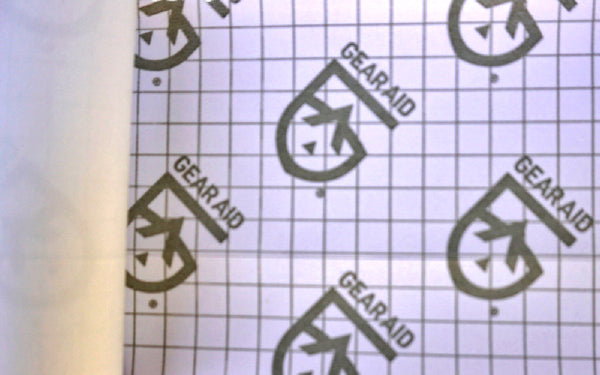
I’ve always had luck with Gear Aid’s Tenacious Tape, Repair Kit and/or pre-cut patches.

-
Seam Grip might be required to fix any leaks occurring near an air valve.
- Follow this same procedure to fix other types of backpacking and thru-hiking gear — noting that issues/ punctures are likely to be much more obvious ... so, no need to submerge your puffy coat to find the hole : )