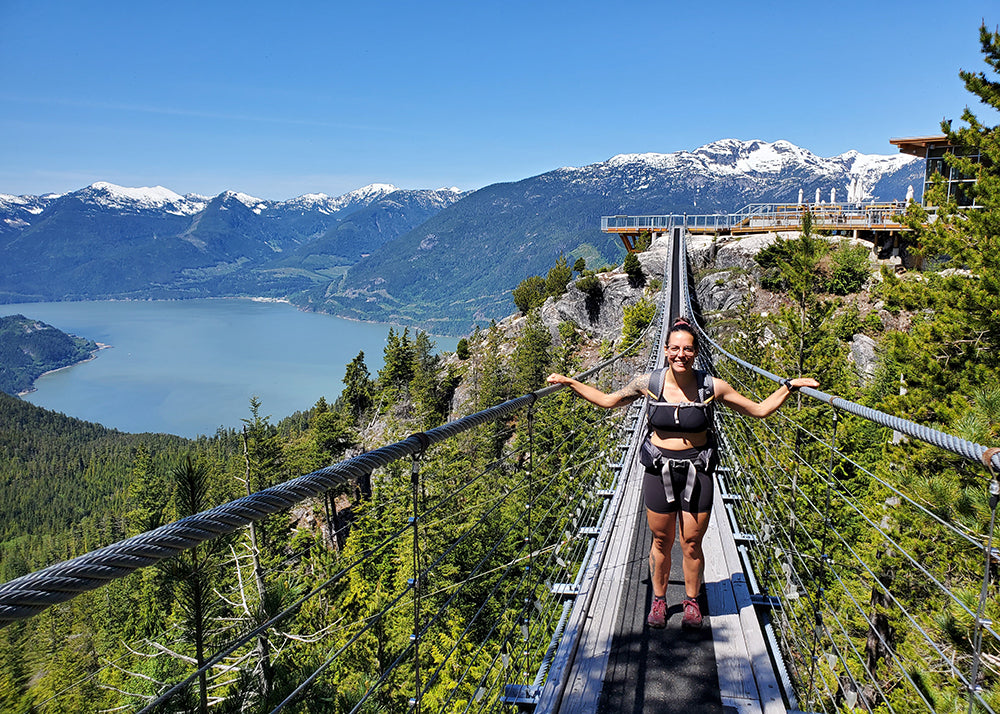
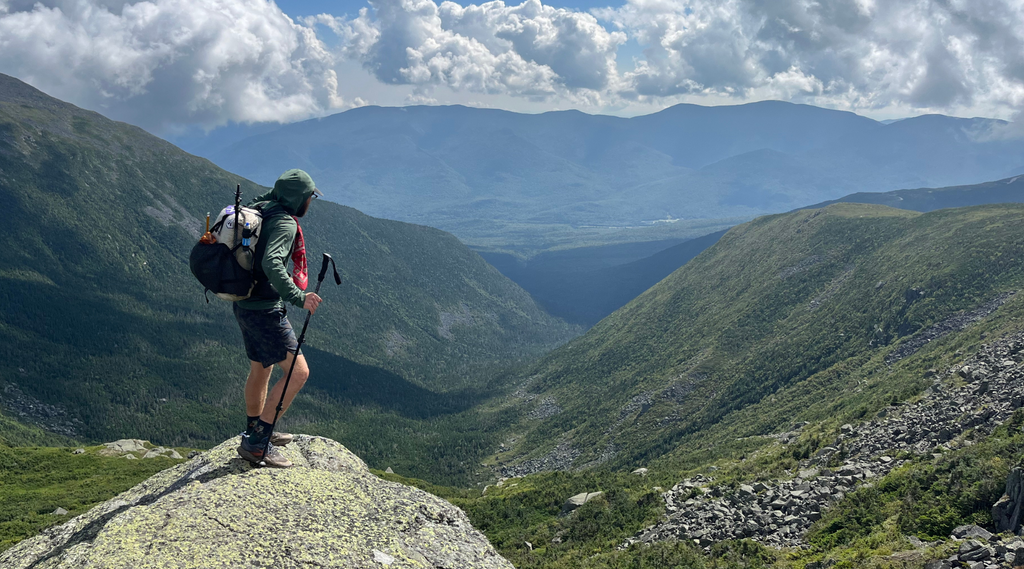
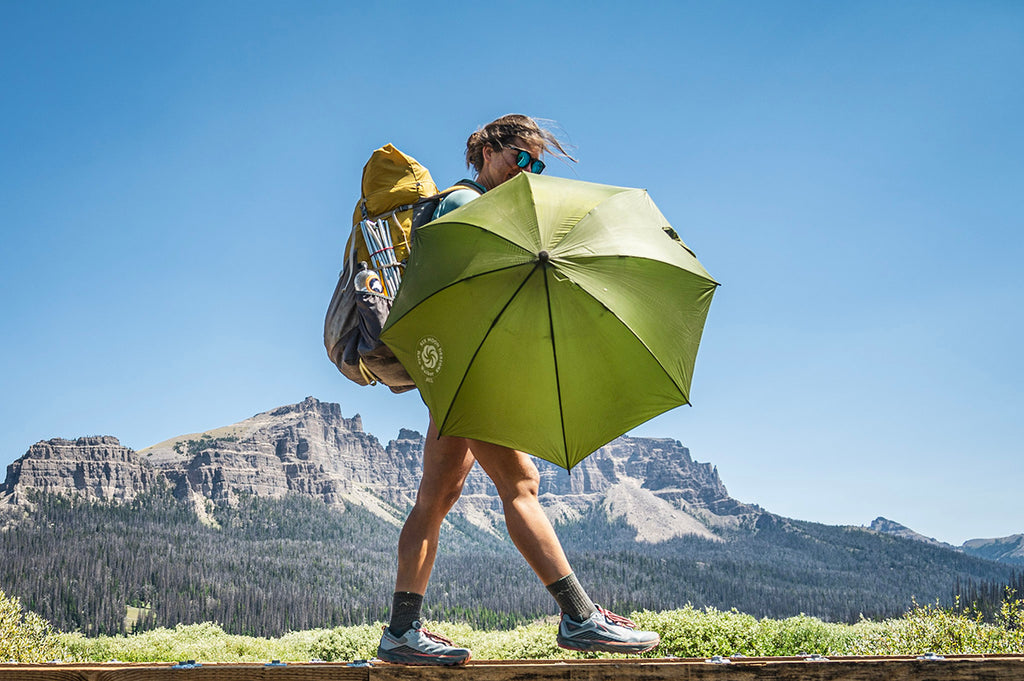
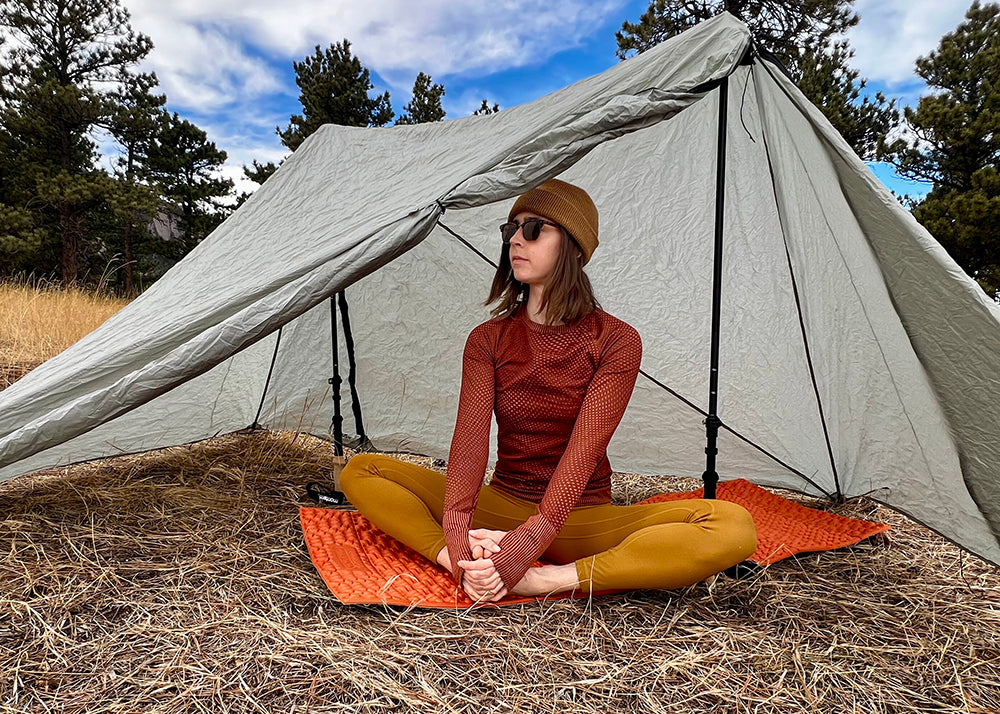
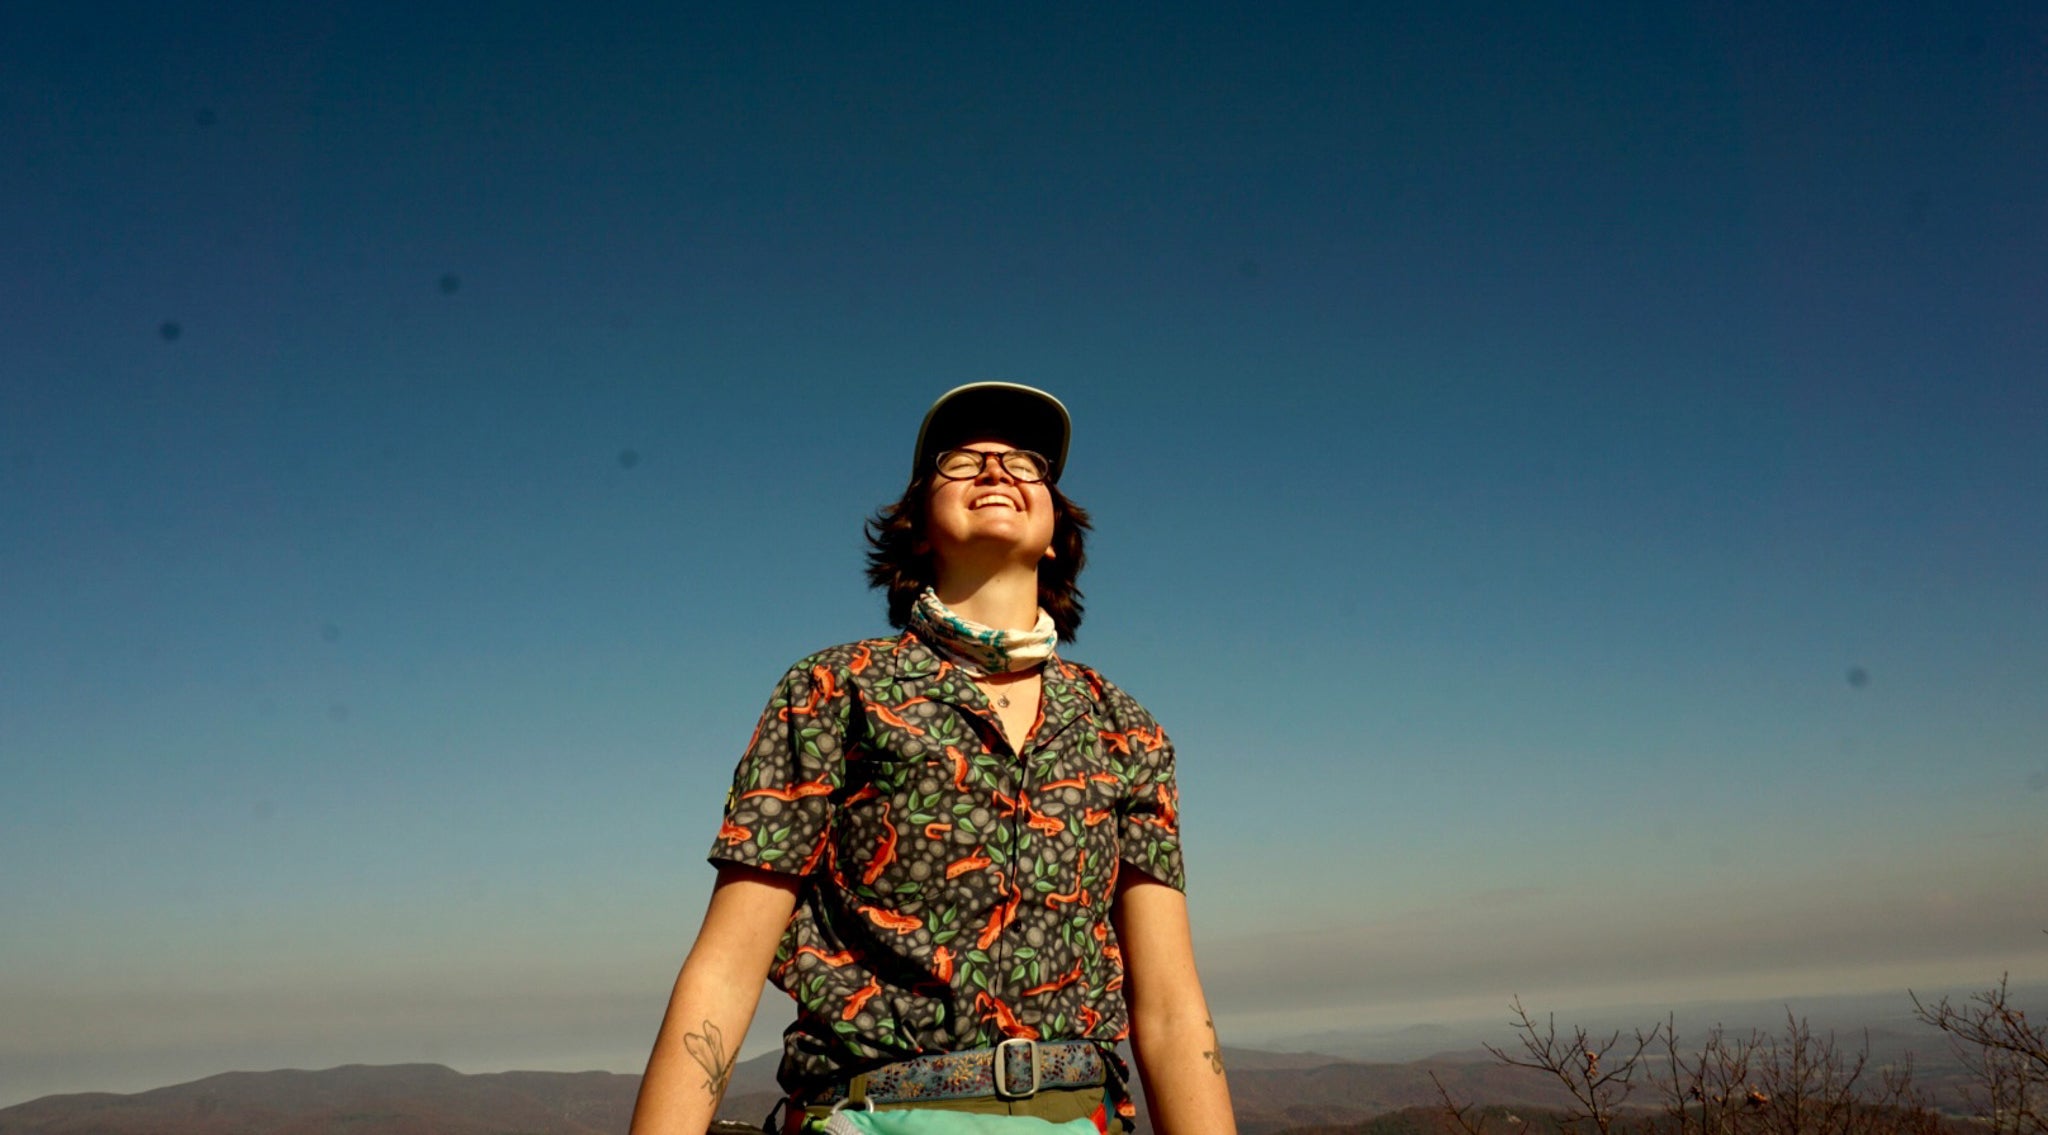
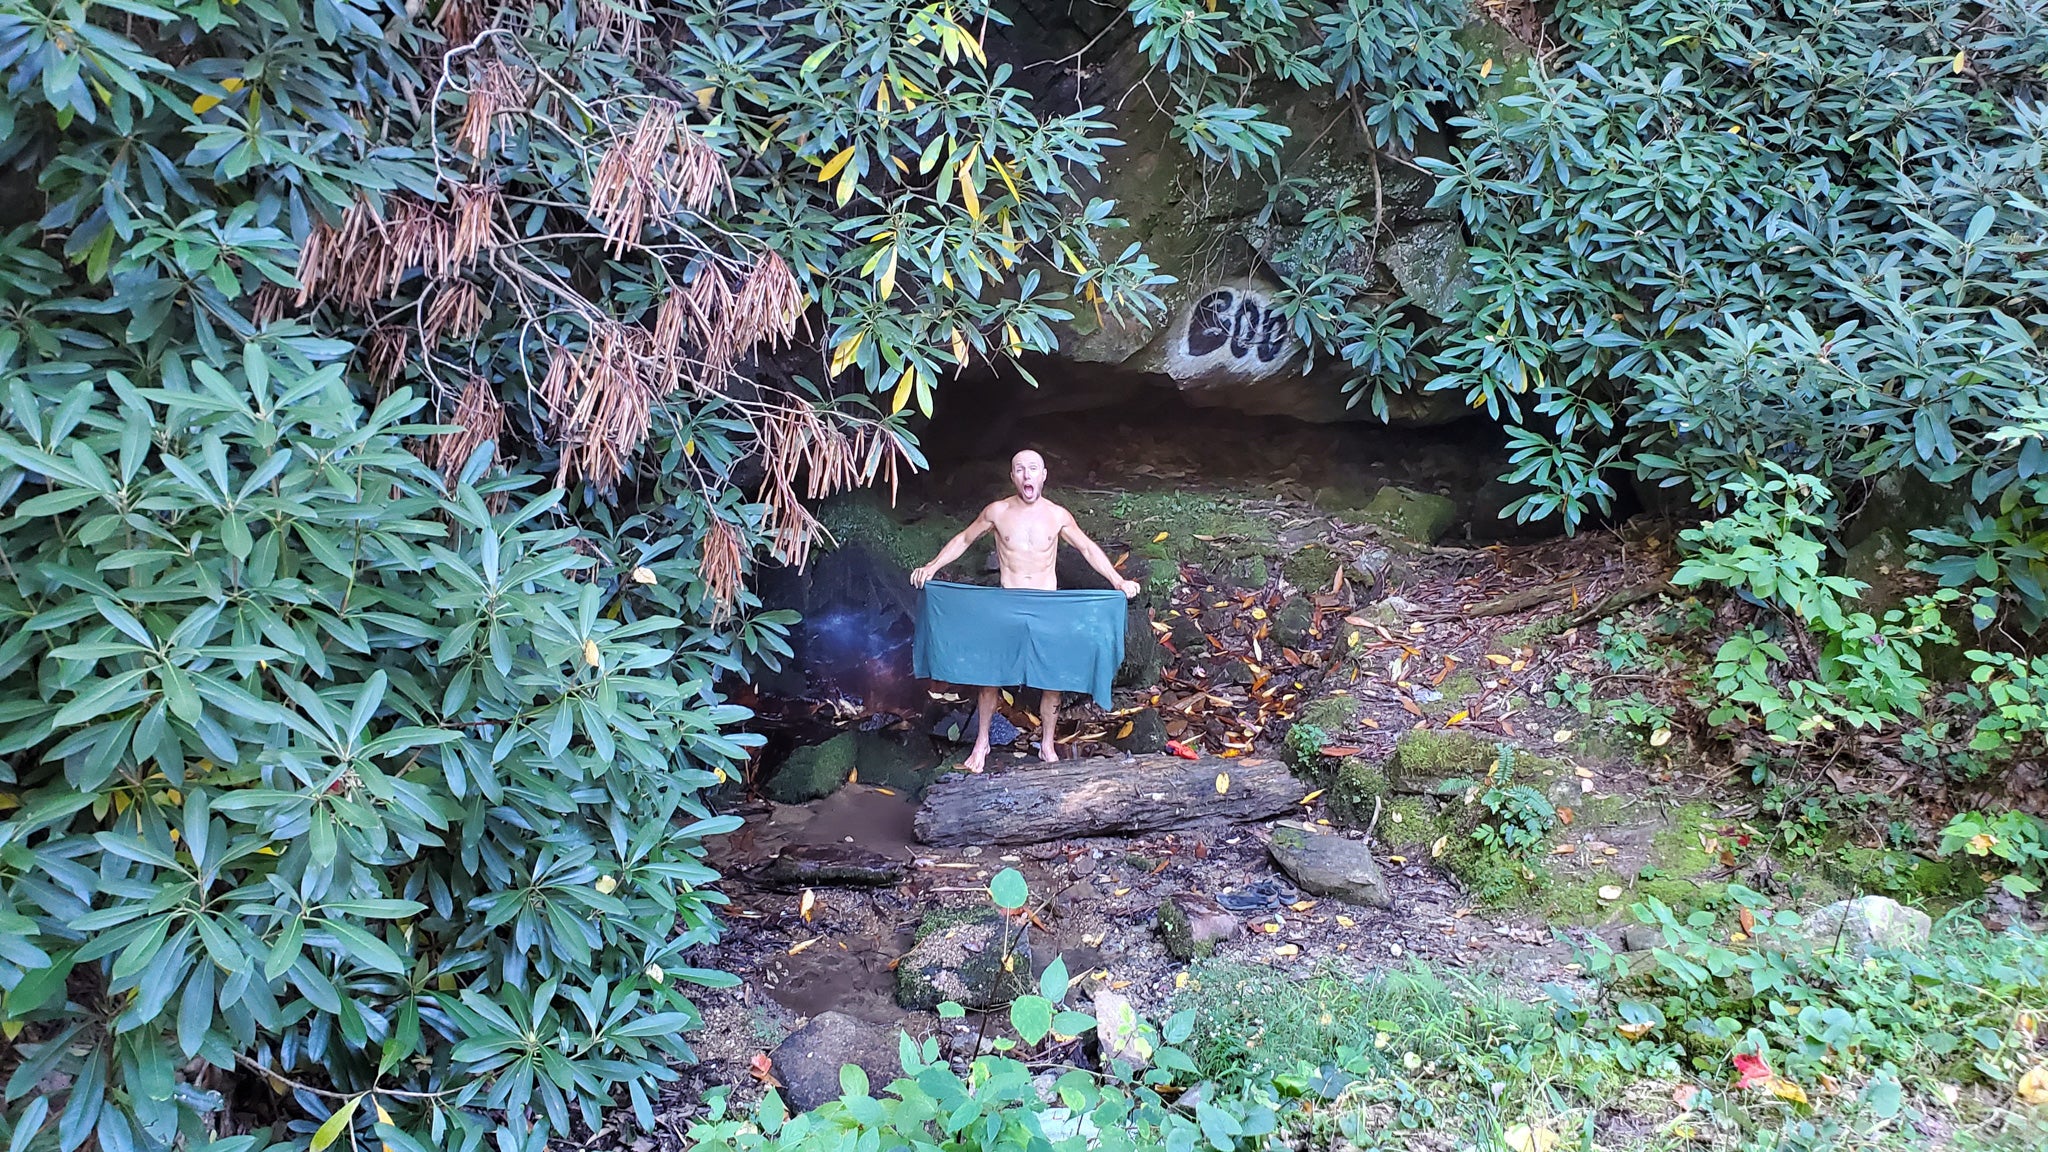
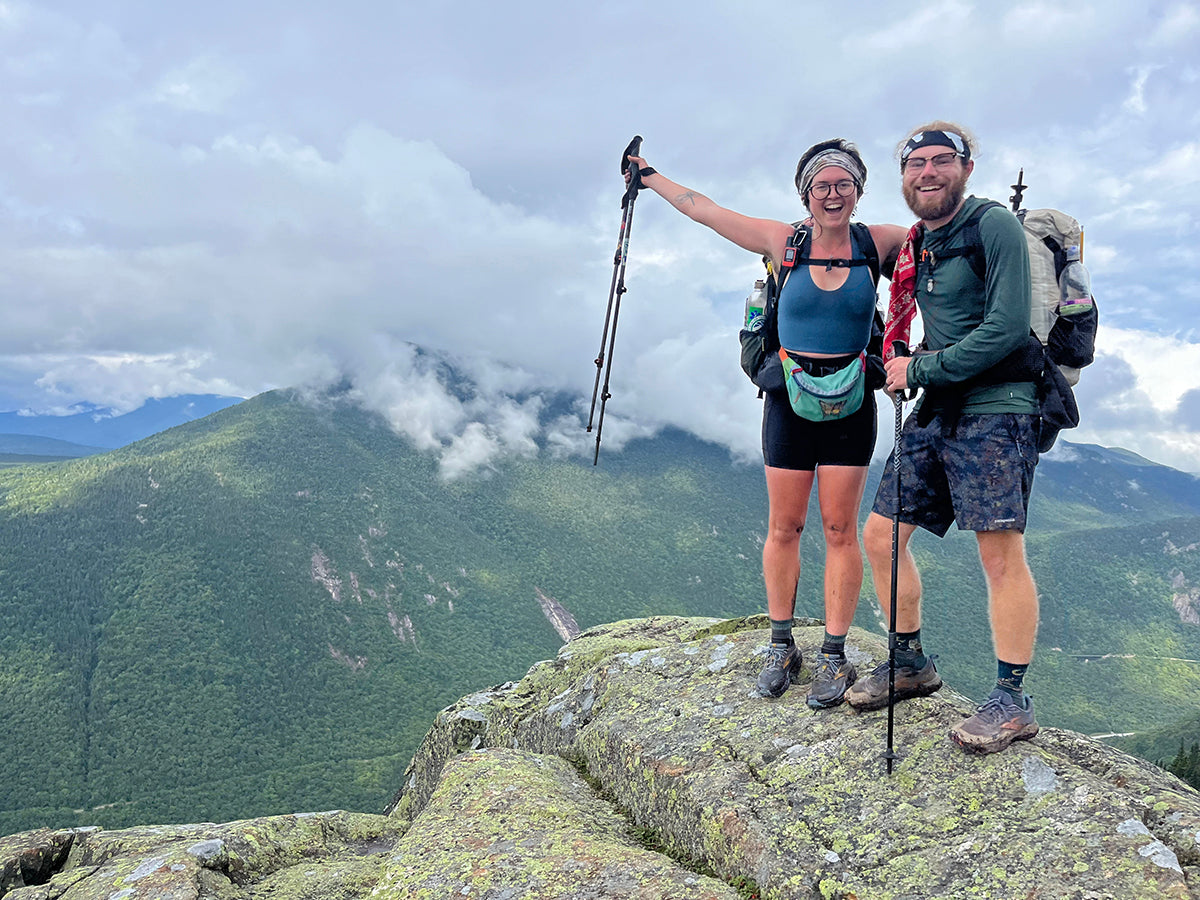
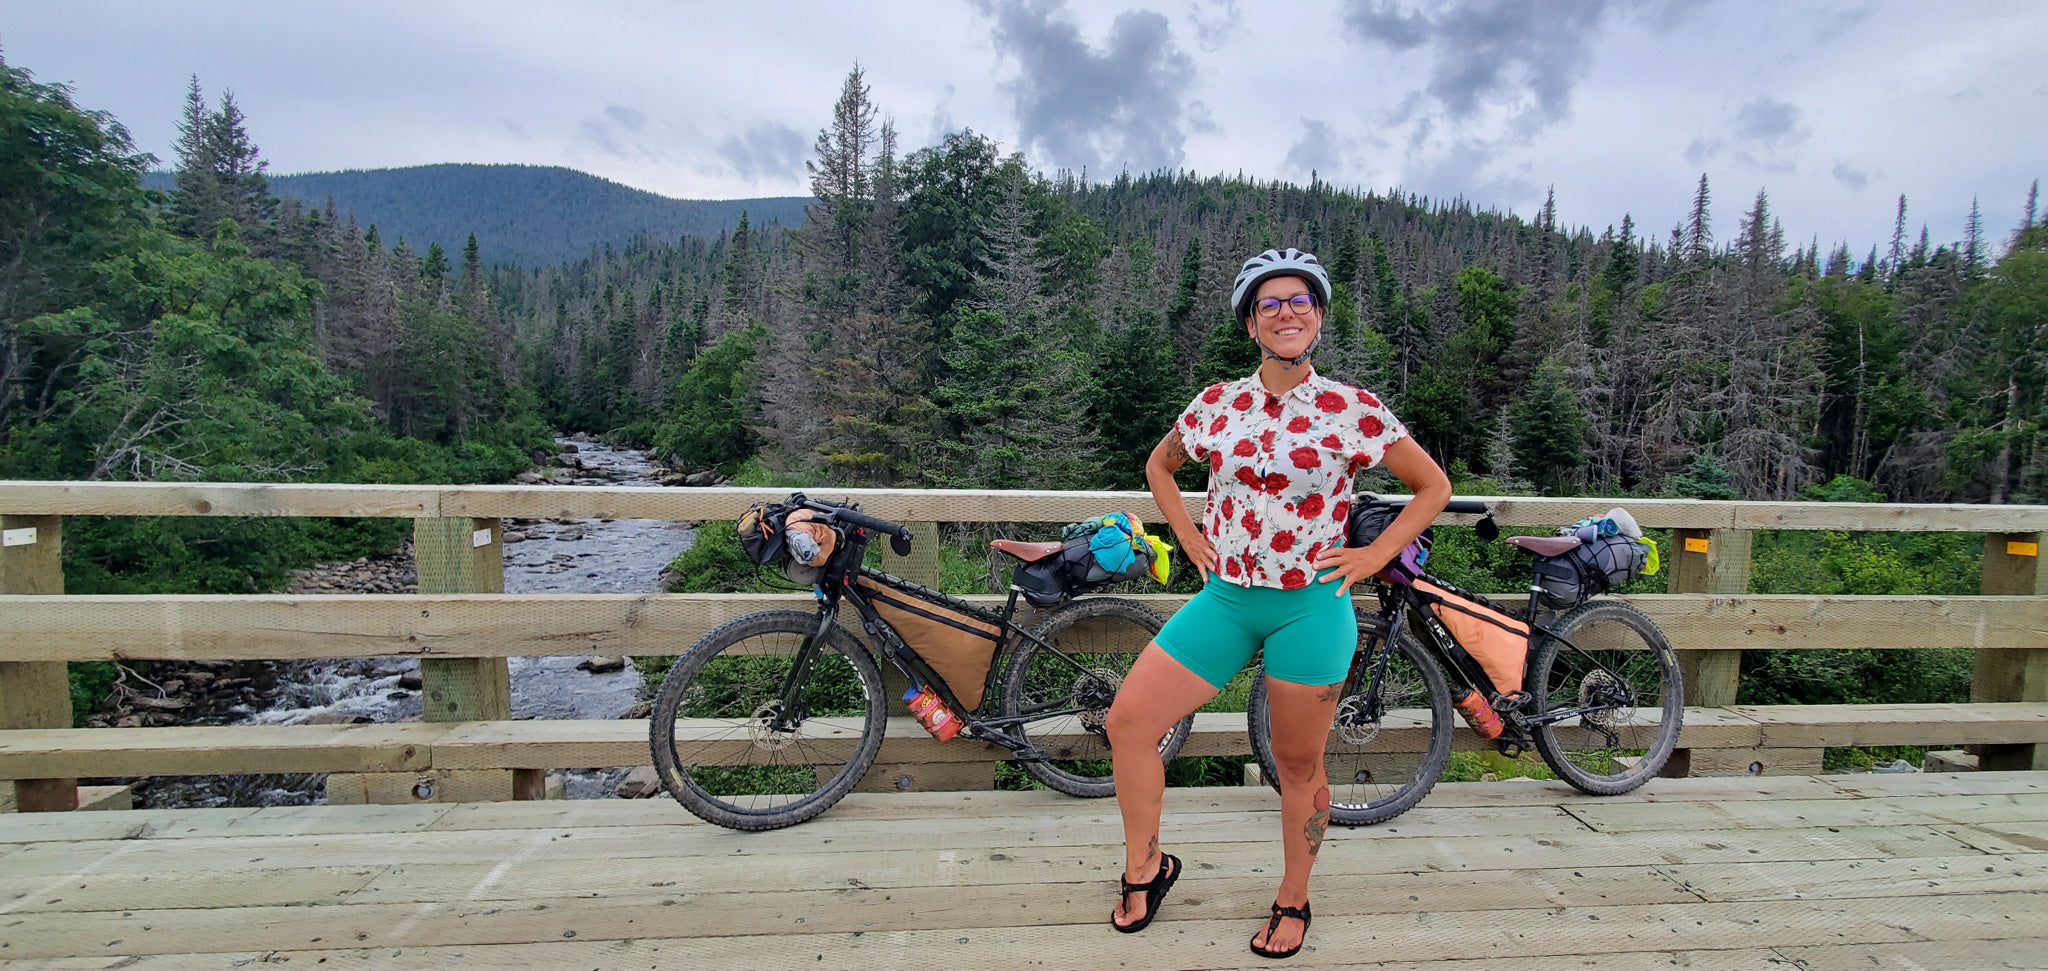
Photo credit: Jenna Gilmore Photography
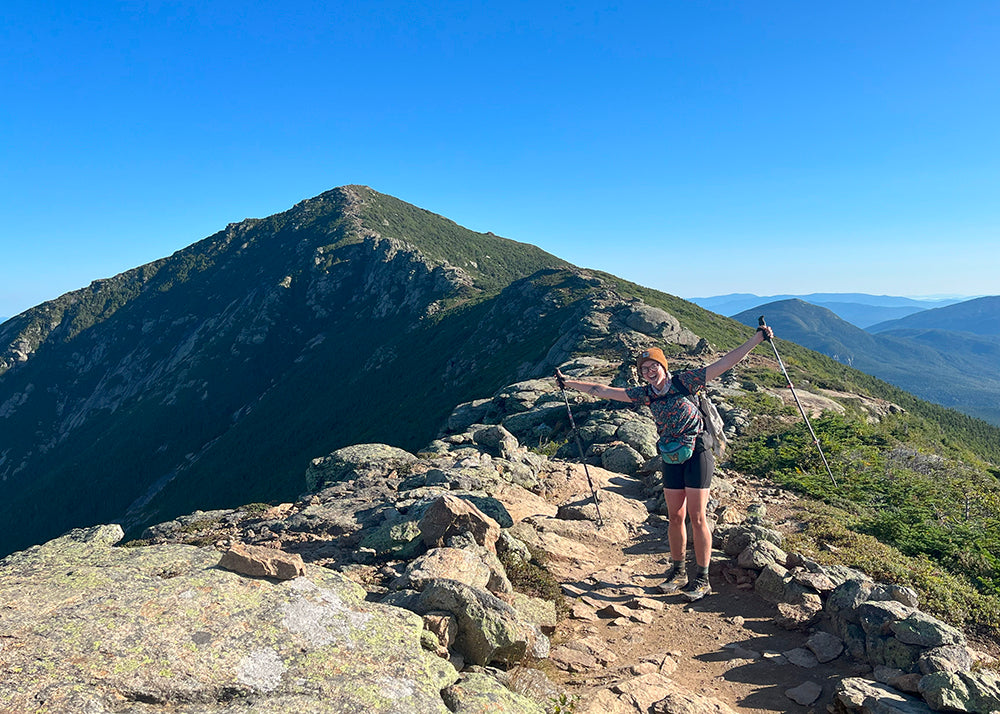
Solo hiking. Being woman. Being man. Differences. Similarities. As much as I hate this spike that’s been driven into society, it is completely possible to thrive under these conditions, and even use it to your advantage. That’s exactly what I did on my two year solo thru-hike of the American Discovery Trail.
It has been engrained in women for ages that we cannot do things on our own. We can’t walk through a dark parking lot alone, eat in a restaurant, or have a drink at a bar by ourselves. We are taught that all men are predators. I’d love to keep giving examples, but honestly, I am so far removed from this ideology that it’s hard. We must shake this stigma, stop acting like a buncha weenies and become more independent, fearless, strong, courageous women.
“How was backpacking solo across America by yourself, being a woman?”
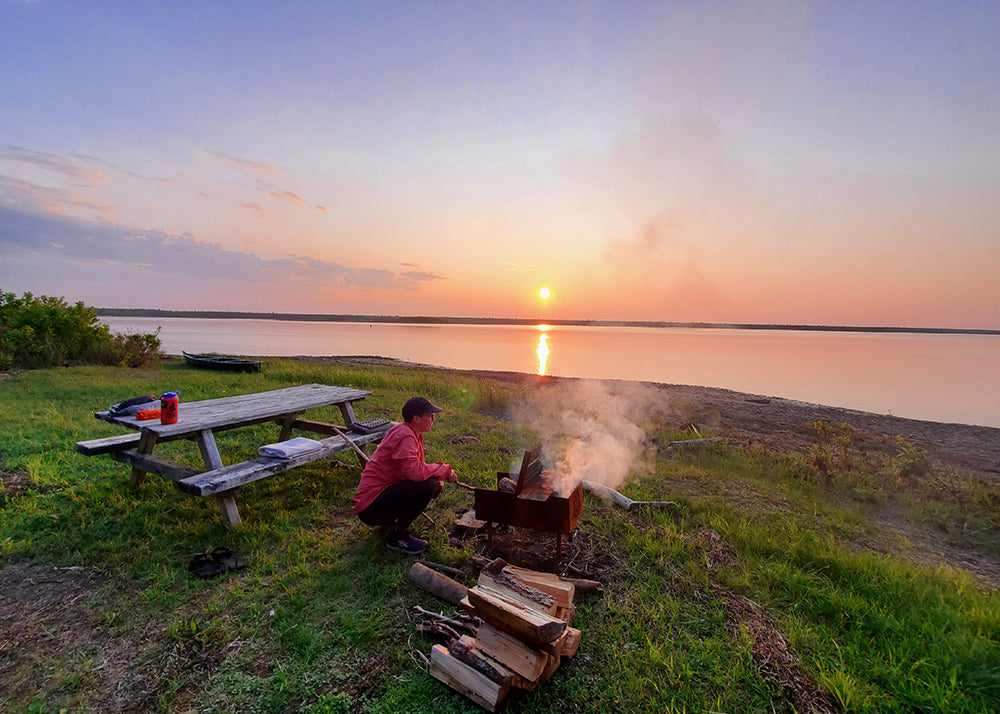
Remember this question; I will answer it shortly. In the meantime, say what you want. Hike your own hike. Harbor your most chilling fears. I’ll be here, eating my fried SPAM by the fire in solitary "wilderbliss."

The American Discovery Trail (ADT) is nothing like any of the National Scenic Trails, plus it technically isn’t one. This 6,800-mile trek spans coast to coast, from Delaware to California. In Elizabethtown, OH the trail forks into two routes running semi parallel (one northern and one southern) that reconnect in Denver, creating an eye-shaped "loop" in the center. Unlike many well-known trails in the US, the ADT isn’t primarily a single-track trail. Dirt roads, paved roads (with or without shoulders), highways, bike paths, rail trails, and an occasional bushwhack all contribute to this long journey. The ADT also traverses through many cities such as Washington, DC, Cincinnati, St. Louis, Kansas City, Denver, Des Moines, Omaha, Carson City, Sacramento, Oakland, and San Francisco.
When I was planning to embark on this thru-hike, there was no question in my mind that I would be solo. I thru-hiked the Appalachian Trail, also solo, in 2015. I was never alone on the AT though. There are so many hikers and hiker commodities it makes hiking a 2200-mile mountain range easy in comparison.

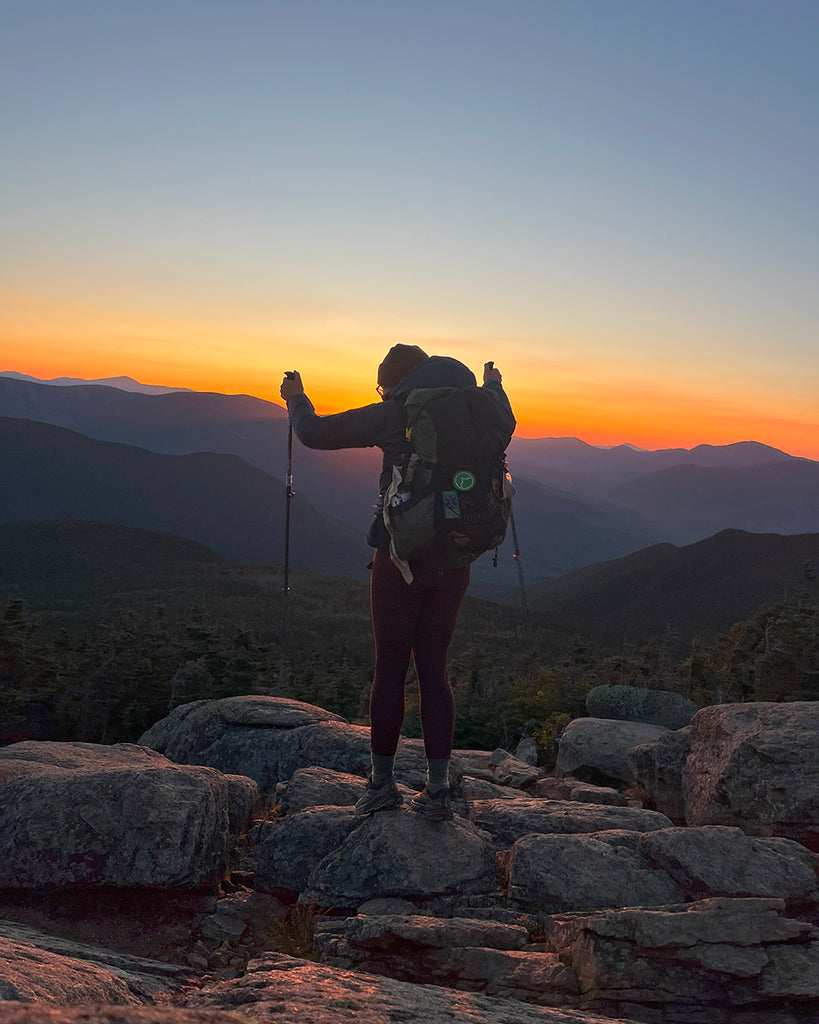
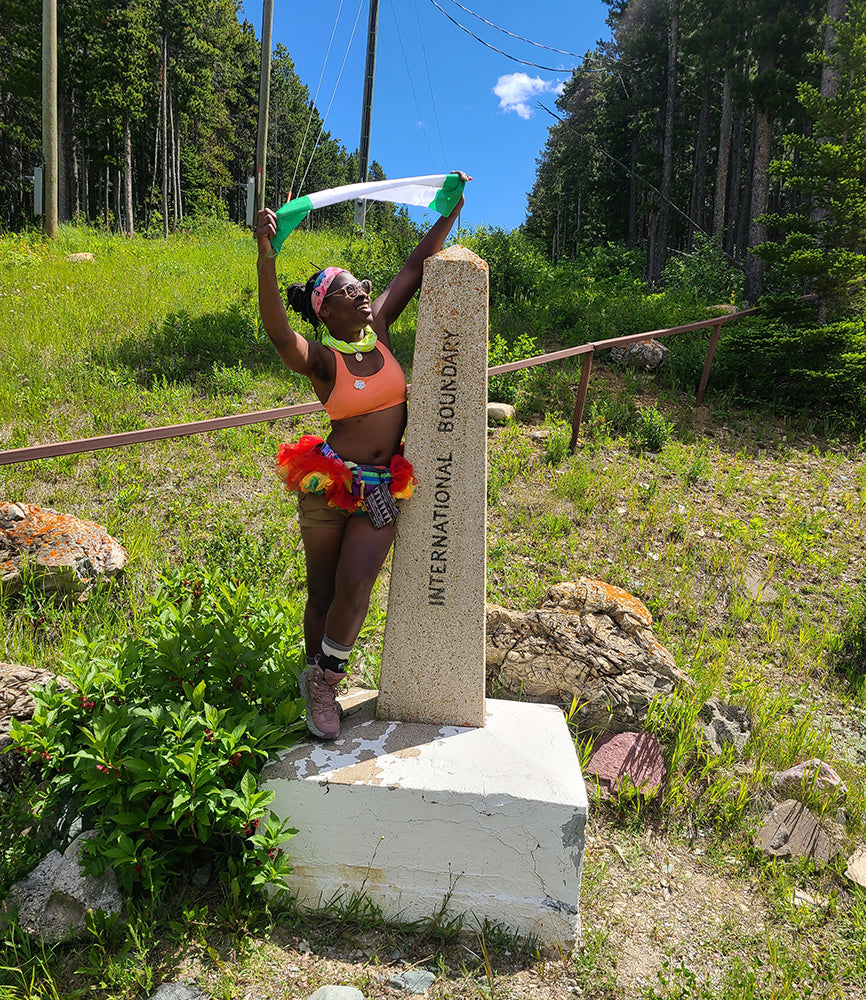
On the American Discovery Trail I would go days without seeing another human, let alone another hiker. Most of the people I met had no idea the ADT existed as an actual trail with a society, board, website, and official route. After two years on my continuous solo trek, I completed the trail on February 10, 2024.
Now, let me answer that question, and I’ll repeat it again:
“How was backpacking solo across America by yourself, being a woman?”
Funny you should ask:
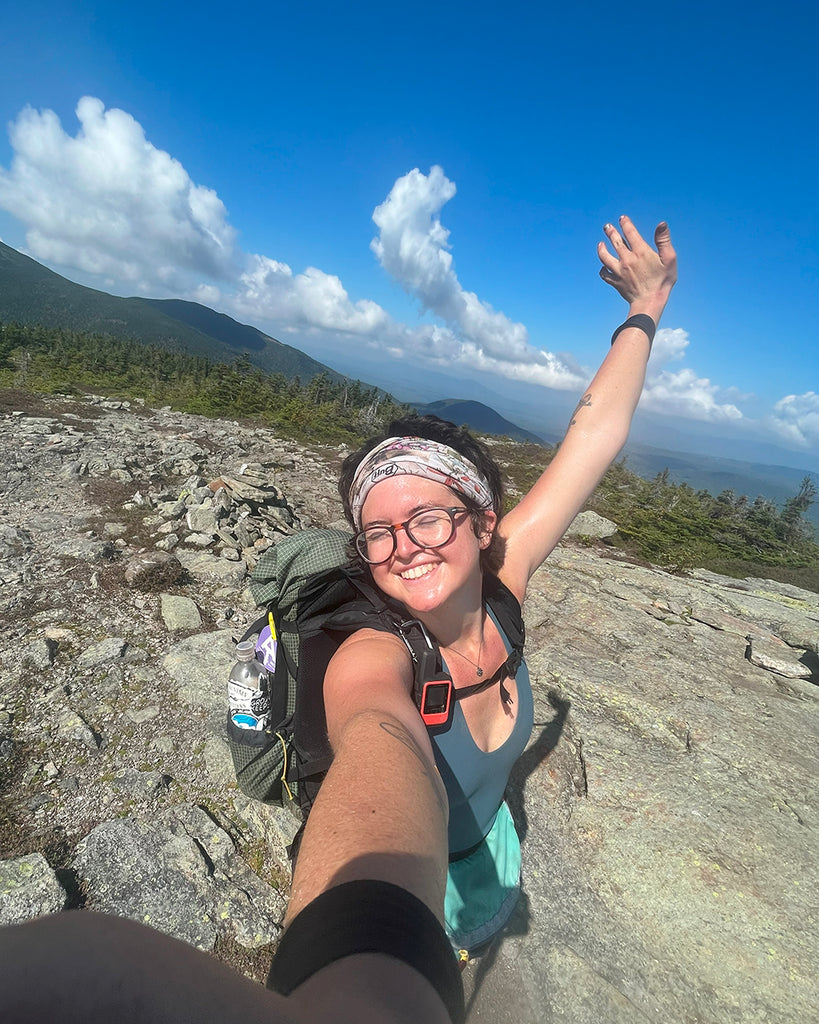
It was EMPOWERING. It was CHALLENGING. It was BADASS. It was EVERYTHING, but it wasn’t too dangerous and hardly scary. You can spin it any way you’d like, but in the end it’s all about your mindset and how willing you are to tap into your powerful, strong, fearless, badass self. I was, in fact, at quite an advantage being a solo female hiker. Completing this journey has awarded me an opportunity to teach others that gender has no say in the outdoors, or anywhere.
A woman may appear less intimidating and more approachable than a man.
Although I undoubtedly freaked out plenty of people on my hike across the country, most people did not feel entirely threatened by my presence. So many times, I would be the only hiker for miles walking along a deserted rail trail, and I would eventually see another person. My first thought would be to not appear as a threat, regardless of gender, although most people usually were out walking with their dog and felt safe that way.
Someone driving down an old farm road will be more inclined to stop and ask a woman if she’s stranded, in danger, or needs water (and maybe even a snack), whereas a man in the same situation might be viewed as a potential threat.
I may have met twice as many people as a man might. “I wouldn’t have stopped to talk to you if you were a man,” was something I heard over and over across this country. It makes me a little sad. I know a lot of really great guys. Who do we think we are; do we honestly go hiking with expectations some lunatic will follow us 100 miles out into the middle of nowhere with no gear, waiting to rape and kill us after we haven’t showered in 21 days?
In Indiana, a man drove up to me in a truck and started giving me the twenty questions interrogation. A thunderstorm was approaching, so I instructed him to continue driving while I walked alongside the truck. “Walk and talk,” I ordered, “I’ve got to get to my destination.” I wound up staying with his family for three days while they slackpacked me, and boy, was it nice to return to a house at the end of the afternoon completely soaked and have the opportunity to put my Altra Lone Peak trail runners on a boot dryer and hang up my wet clothes out of the elements.
There were families I stayed with who told me they’d hosted a guy or two hiking the ADT over the years, inviting them to camp out on their lawns. I was always invited to sleep in their houses, and I honestly believe that being female played a huge part in their decision.

You’re overthinking it
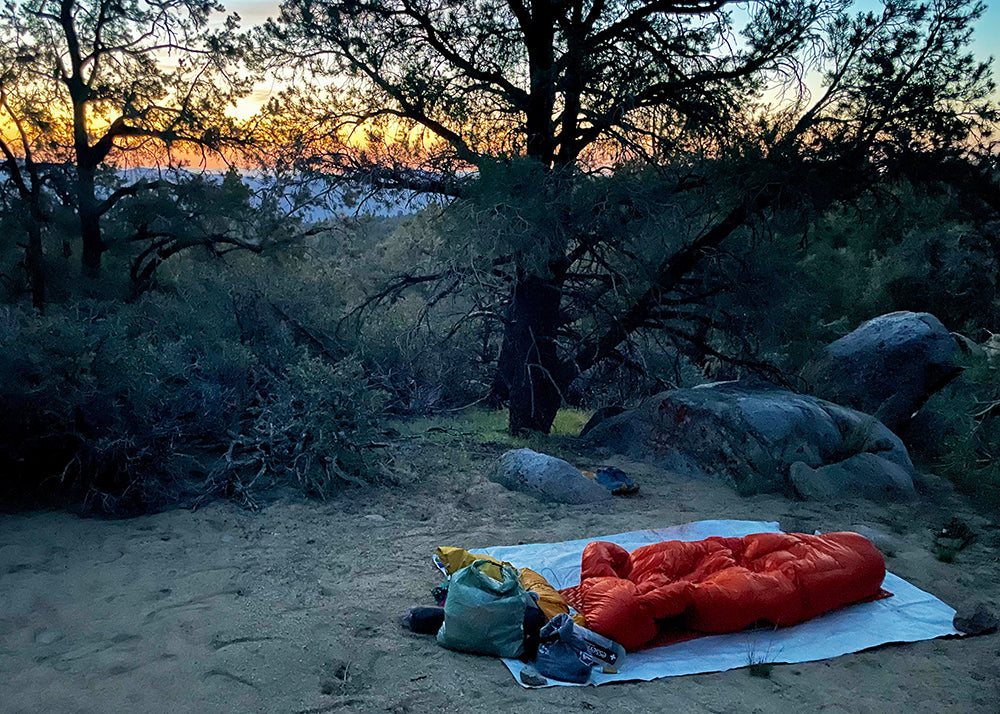
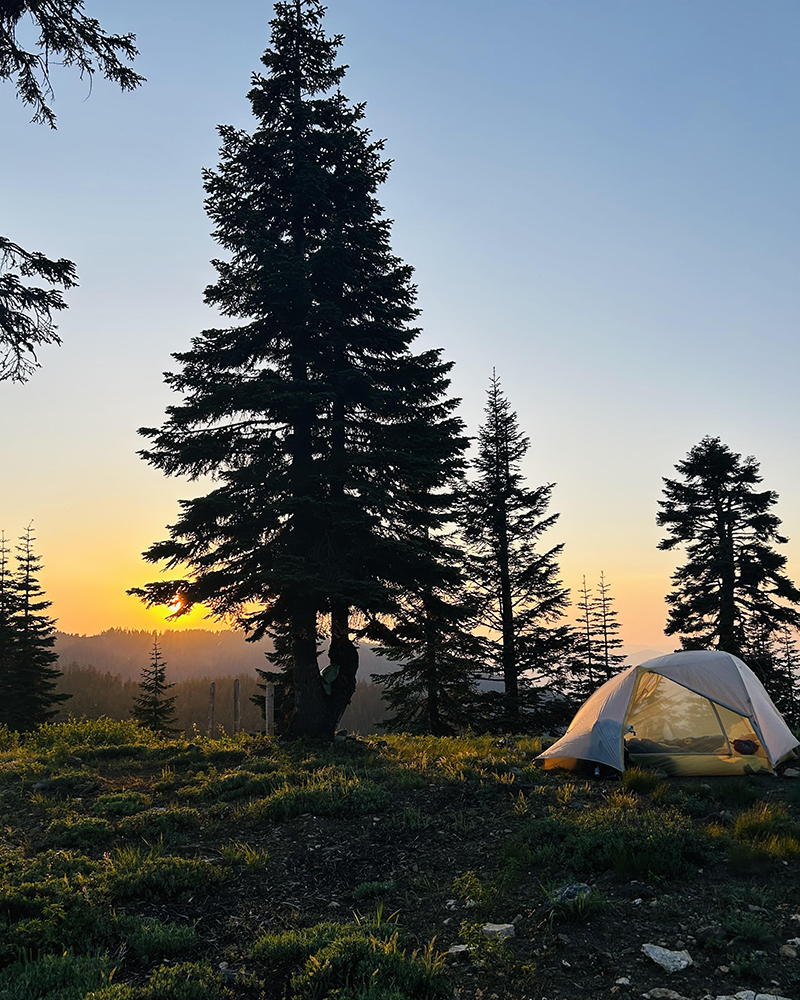
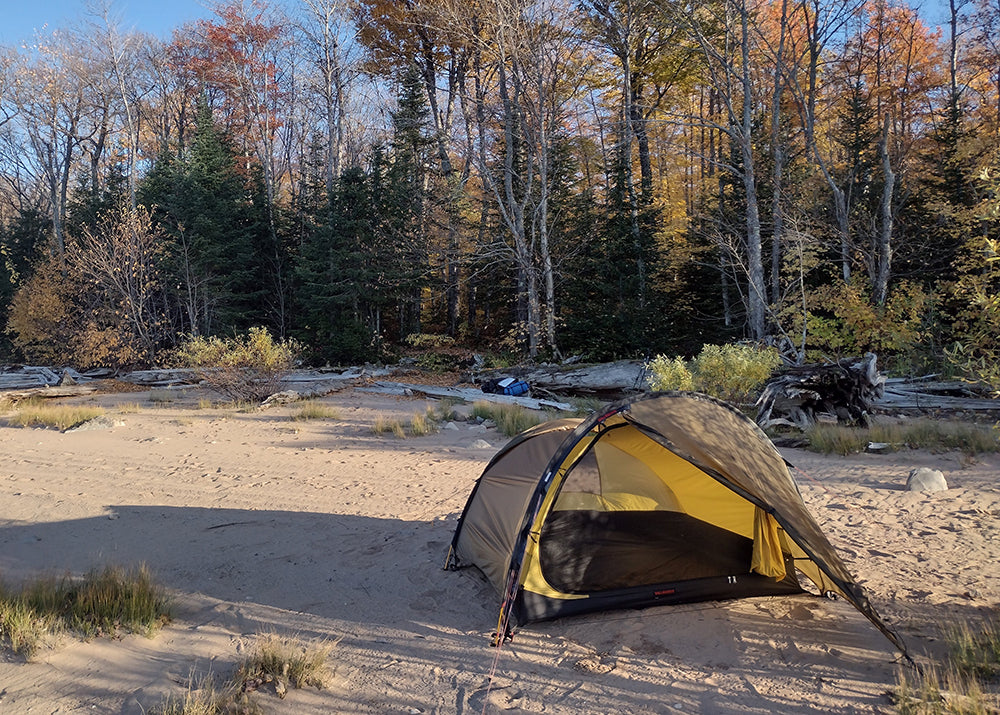
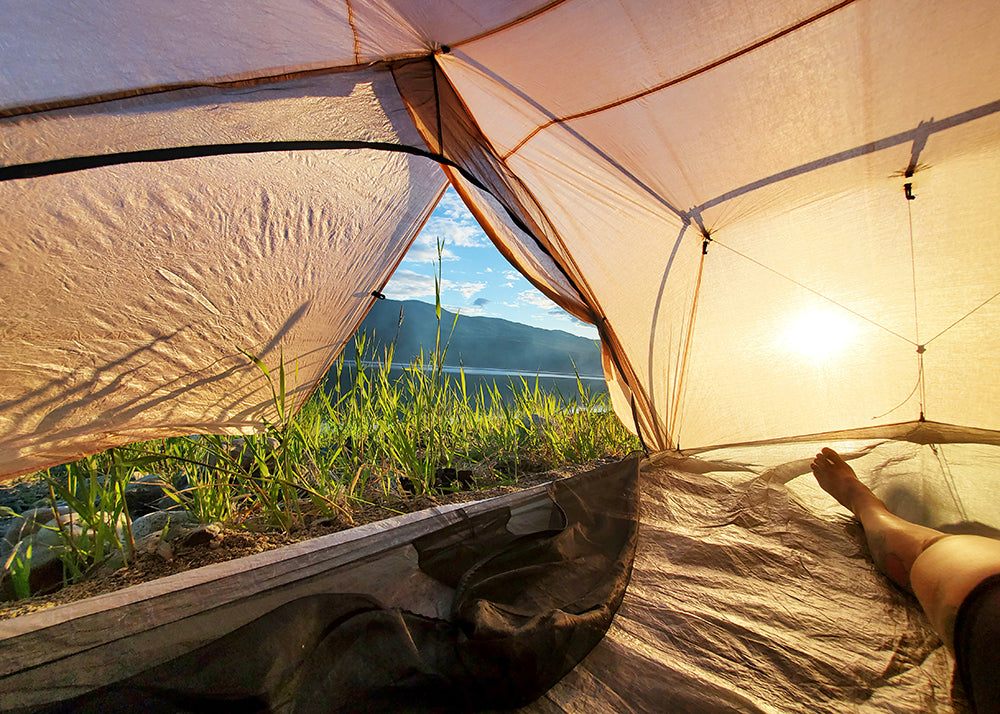
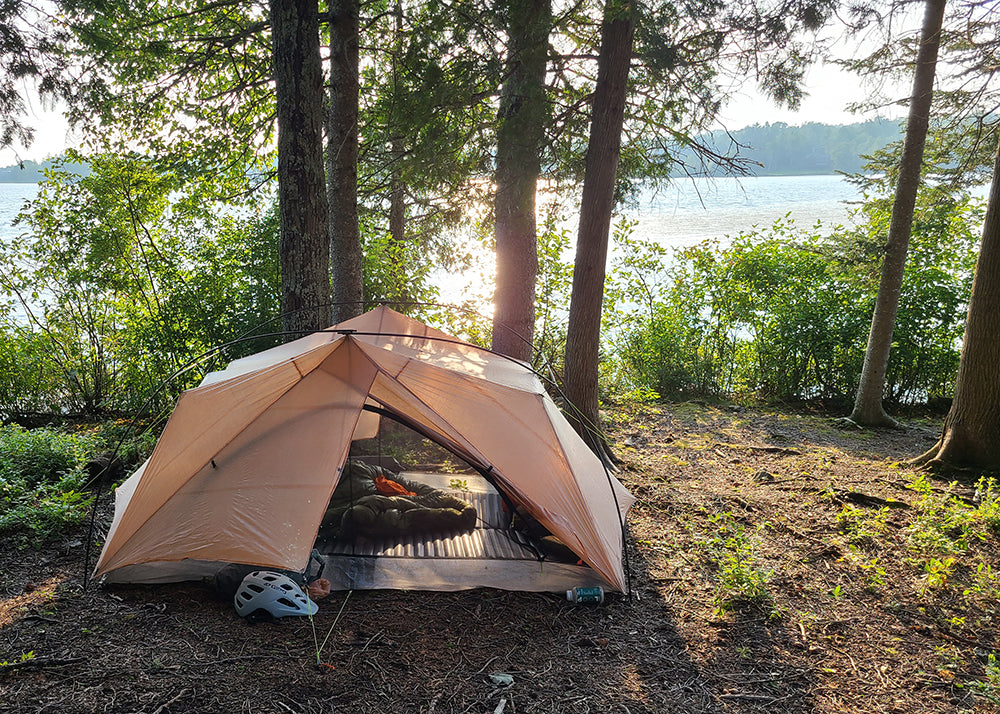
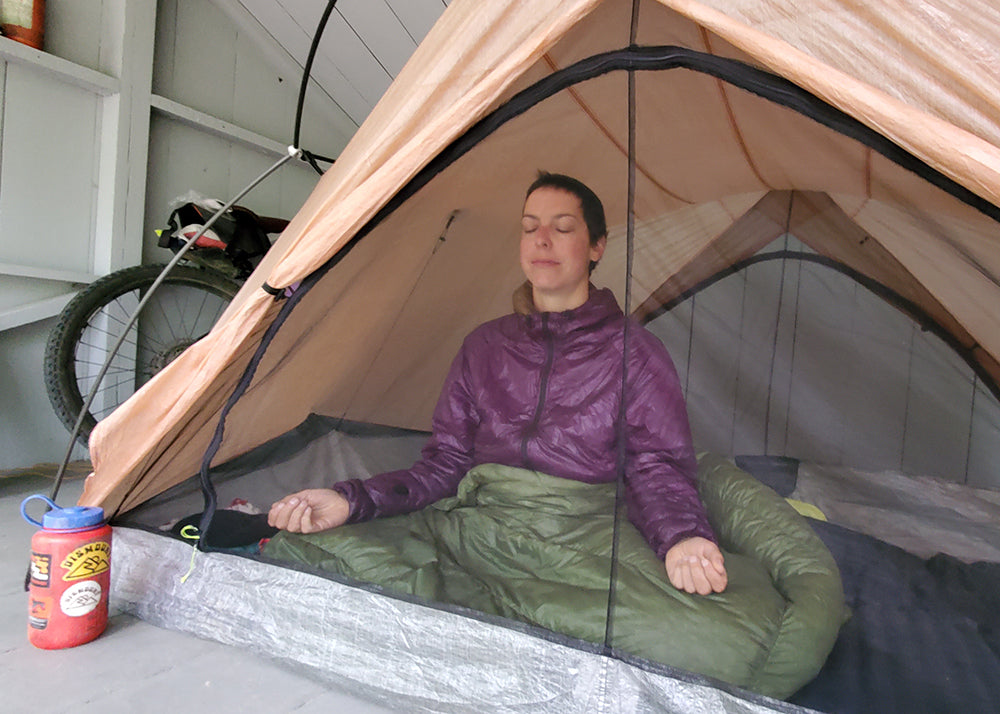
Totally overthinking it, kids. Don’t be freaked out to go camping by yourself. I sometimes (often) camped in obscure places. When a civilian sees a tent set up at the edge of town, in a cemetery, or at a campground, chances are they are not thinking there’s a woman in there, let alone a solo one.
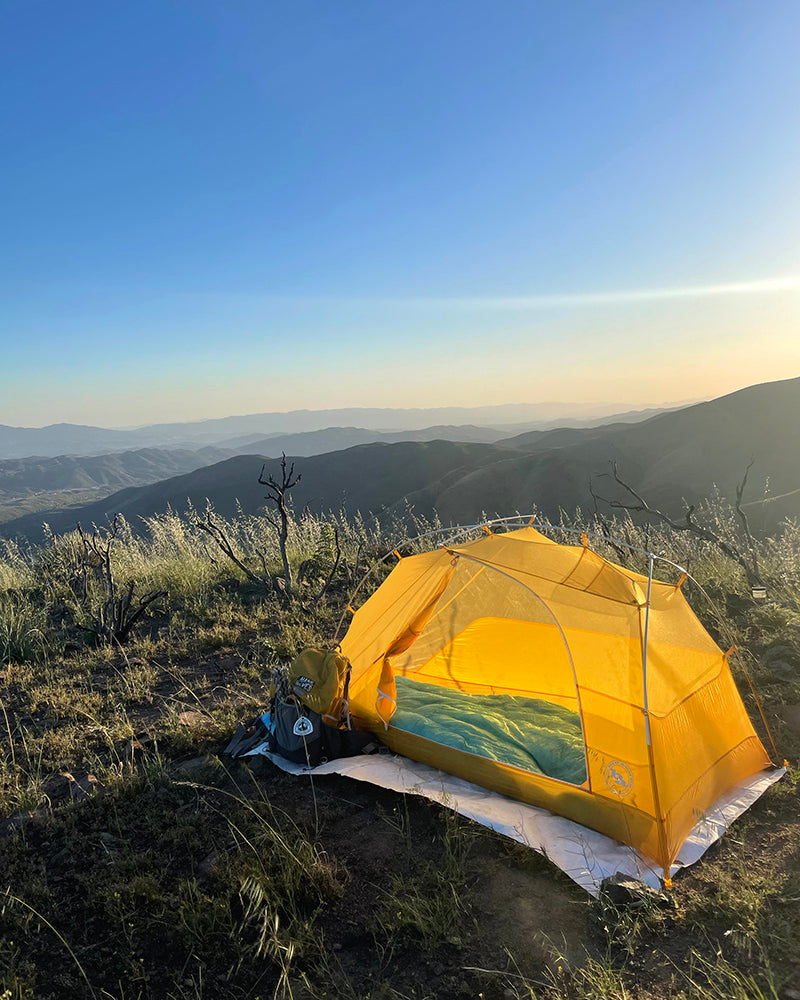
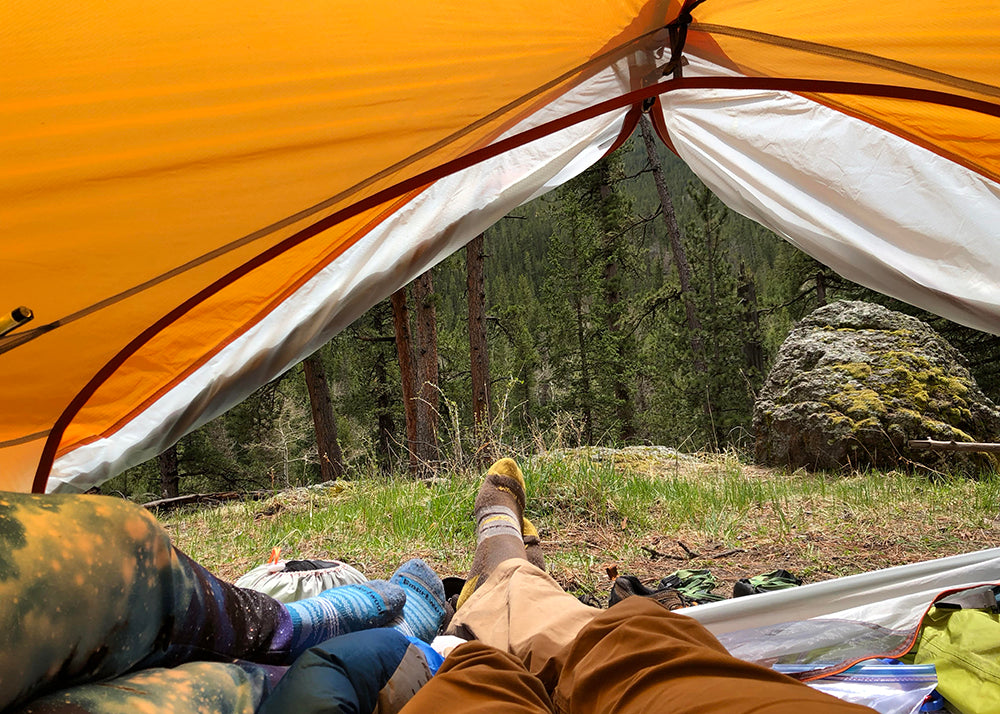
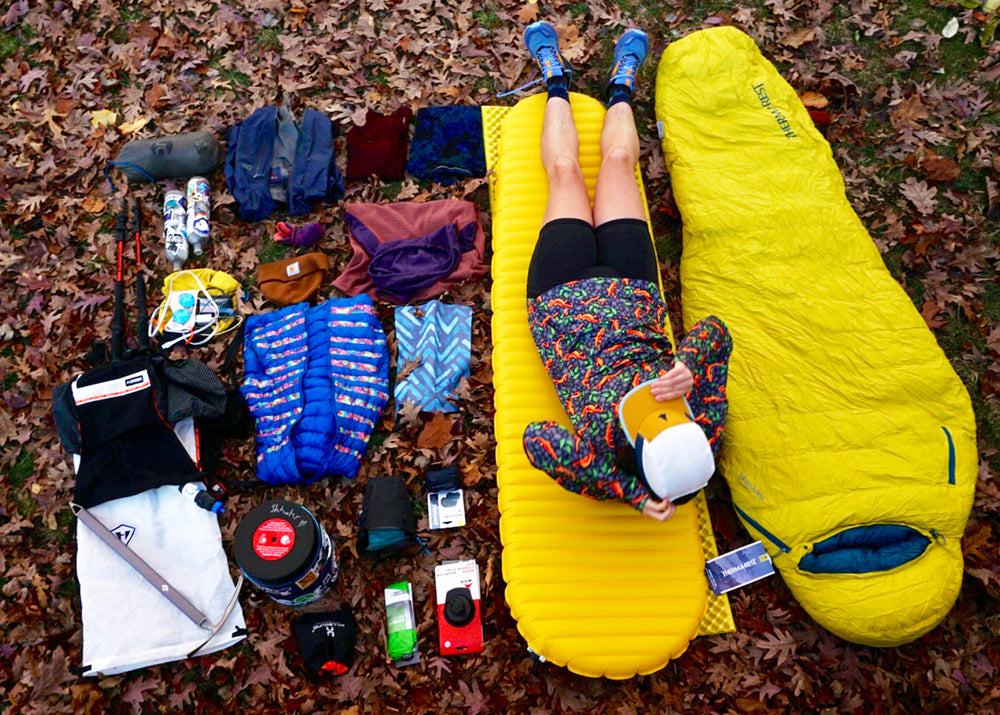
If you’re feeling uneasy, make it look like you aren’t alone. Take your camp shoes and your hiking shoes and partially stick them out from under your rainfly. Put two water bottles on the picnic table. Get creative. Voila. When I used to go car camping, I always had two chairs in my trunk, and I’d set them both up. It doesn’t take much to trick the public. People are not extremely observant. Most of the time, I wasn’t even spotted. I carried a Big Agnes Copper Spur tent because there was an option for an olive-colored rainfly as opposed to the standard orange rainfly. This kept me hidden and unnoticed in all four seasons, all across the USA.
Somewhere in Missouri I camped in a town park with a walking track around it. At 5 AM a little old man drove up and did his four laps around the track. He was at 2.5 when I got out of my tent and took it down, and by the time he completed the third lap he finally noticed me at the picnic table and asked where I came from. I was beyond shocked he had not seen my tent after walking completely around it, thrice. I began to wonder if, in this case, he should even be driving, but that’s another story.

Conclusion
I prefer to hike solo because I tend to get tired of people quickly. I don’t need to modify my pace or compromise my plans. I can’t imagine having a hiking partner or hiking with an animal. If I’d been hiking with another person, I would not have made a FRACTION of the friends I did, simply because many people wouldn’t think to stop if they saw two people hiking together. I’m also quite savage when it comes to hiking. Time and time again I recall myself thinking I don’t know a single person who would have done that with me, like after hiking through crotch-deep snow with a stress fracture for 20 miles.
All genders aside, we are much safer than we think, much safer than society tells us. The only fear I have is that you might never take that chance to see how wonderful it can be out there, with yourself. That being said, I’ll leave you with a quote from a dear late friend of mine.
“Now go get your ass back to the woods.” - Rob Bird


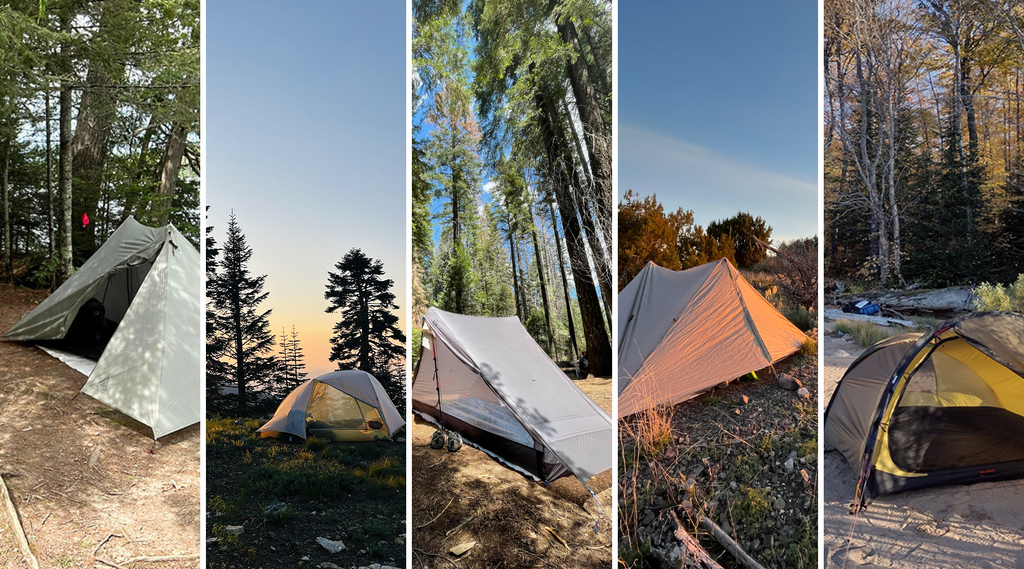
 Utilizing my Tyvek footprint in snowy conditions of The Great Smoky Mountains National Park.
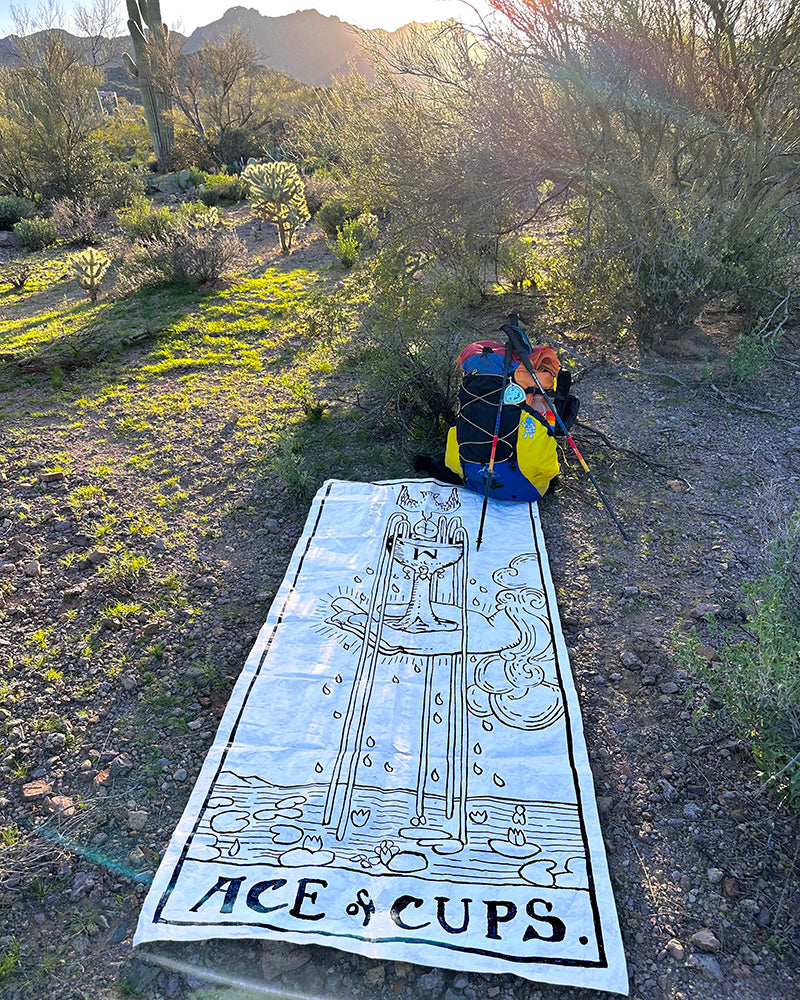 Joe Pagoc’s (Big Spoon) photo is just one example of a hiker’s creativity on a Tyvek footprint. Illustrating the tarot card he drew before leaving for trail, it’s meaning served as a daily reminder: "Seek out ways to explore your consciousness, seek out paths that lead to your connections with Spirit" and "Allow the power of your emotions to guide you in a new direction.”