


Welcome to Part 2 of Yoga Poses that you can easily do inside your tent! As any thru-hiker knows, it can be tough to work stretching into your day amidst the high mileage, town errands, camp chores, and constant binge eating. Usually by the time I make it to my tent, I just want to lie down and go to sleep. Luckily, there are plenty of effective yoga poses that one can do within the confines of a backpacking tent. (Check out Part 1 for more tent yoga!)
Butterfly (Badhakonasana)
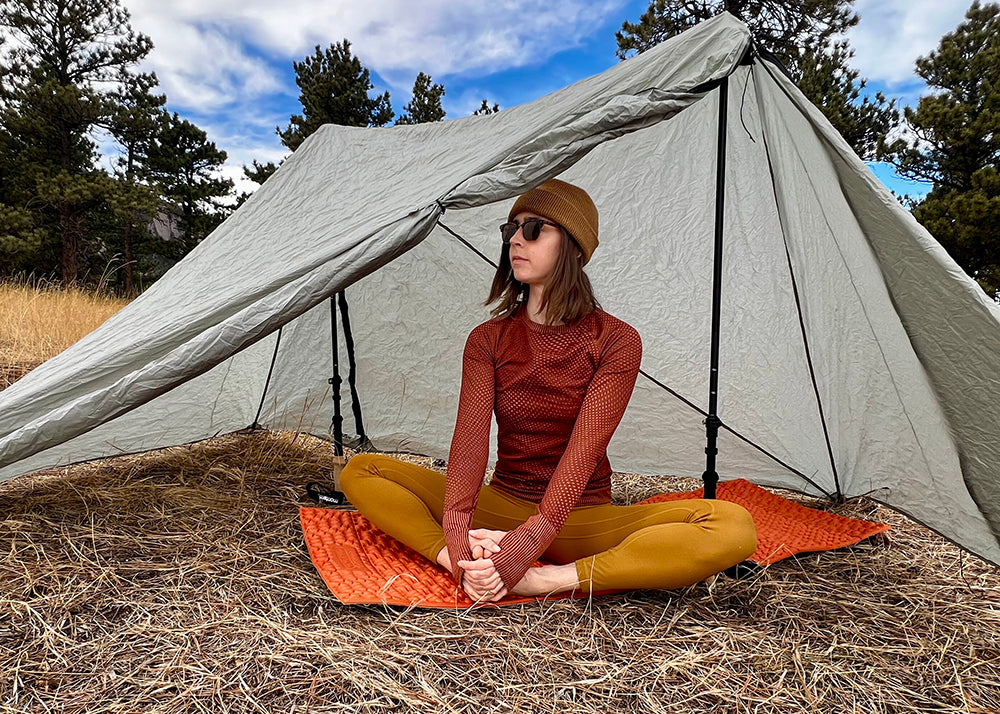
Butterfly pose is a familiar shape for most people. Whether you did extracurricular sports as a teenager, or even just had PE class in school, you’ve probably seen this shape before. This pose is an excellent hip opener, and it works wonders for your knees and thighs as well.
Starting Position:
- Begin by sitting on the floor with your legs extended straight out in front of you.
-
Take a moment to sit up tall and lengthen your spine. Think “head over heart, heart over pelvis”
Leg Position:
- Bend your knees and bring the soles of your feet together in front of you.
- Allow your knees to open up towards the sides, creating a diamond shape with your legs. You can bring your feet closer or further away from your hips, depending on your flexibility.
- Hold your feet with your hands. You can grasp your toes or interlace your fingers around your feet. Another option is to gently place your hands on your shins.
- Sit up straight by lifting through your chest and lengthening your spine. Imagine reaching the crown of your head toward the ceiling.
- Focus on your breath. Take slow, deep breaths. With each exhale, you may find that you can gently encourage your knees closer to the floor.
- Hold the pose for 30 seconds to a minute or as long as feels comfortable.
- To release, bring your knees together, extend your legs, and give them a gentle shake to release any tension.
Cow Legs (Gomukhasana)
Gomukhasana actually refers to the yoga pose commonly known as “Cow Face,” but I’m calling this one “Cow Legs” because it features just the lower half of Gomukhasana. I like to focus just on the legs of Gomukhasana so as not to exclude anyone with shoulder mobility issues (such as myself). Cow legs provides an incredibly deep stretch in the IT bands and glutes, so approach this one slowly and with caution.

-
I like to begin this pose on all fours, or in tabletop position.
- Align your left knee between your hands, cross your right knee behind your left, and place it on the ground.
- Spread your feet apart behind you to make room for your butt, and slowly sit down between your feet.
-
Your aim is to have both sit bones on the ground.
-
Normally with Gomukhasana, you would create a bound pose behind your back with your arms, but for Cow Legs, we are just going to place our hands on our feet.
- Sit up tall with a straight spine.
- Breathe deeply and relax into the pose, feeling a stretch across your hips, glutes, and outer thighs.
- After holding the pose for a comfortable duration, we’re going to slowly release and switch sides.
- Reach your hands out in front of you and anchor them on the ground.
- Press into the tops of your feet and engage your core to safely lift your butt off the ground.
- Uncross your feet and return to all fours.
- Repeat the pose on the other side, crossing your left leg over your right this time.
Eagle Arms (Garudasana)

Here is another half yoga pose, if you will. Garudasana typically refers to a full body standing pose involving wrapping the legs but, since we are in a tent, we’re going to focus on the upper body portion of this posture. The term “Eagle Arms” is often used to describe the arm position, wrapped like an eagle's wings in various seated or standing poses. Eagle Arms provides an excellent stretch through the shoulders, upper back muscles, and lower back muscles, easing the tension built from carrying a heavy pack.
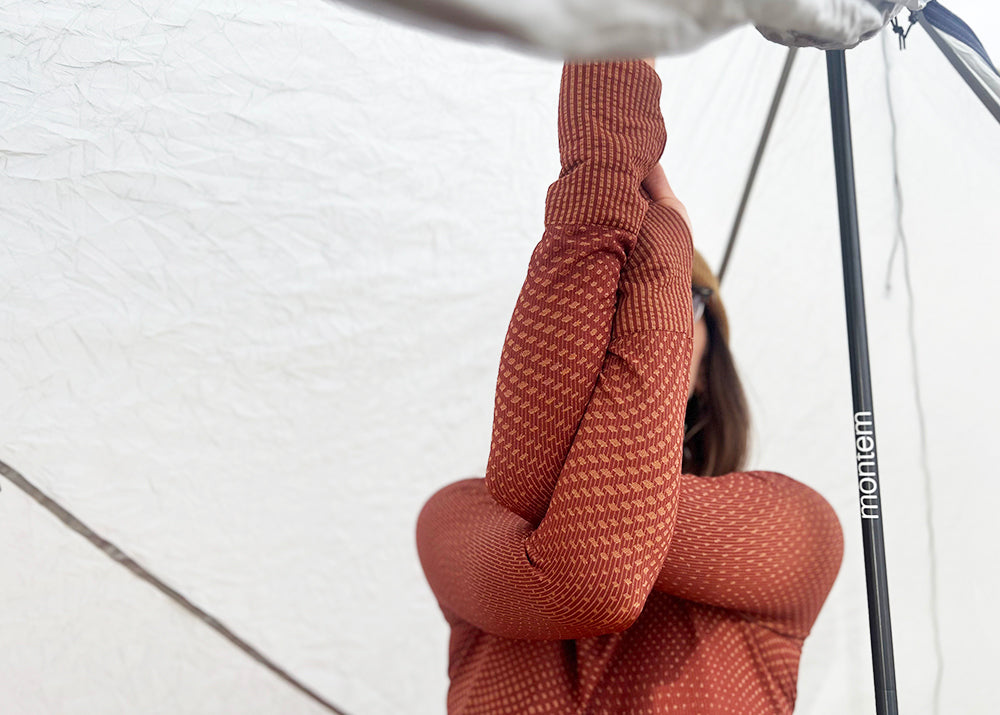 Starting Position:
-
Sit comfortably on your knees with your spine straight and shoulders relaxed. If you have sensitive knees, you can sit on your butt with your feet out in front.
- Extend your arms straight out in front of you at shoulder height.
- Cross your left arm over your right at the elbows and bend both elbows to a 90º angle.
-
Twist your forearms around each other, bringing your palms to touch if possible. If your palms don't touch, it's okay; you can press the backs of your hands together instead.
-
Lift your elbows slightly while keeping your shoulders relaxed. With this action, you should feel an opening in the upper back and shoulders.
-
Hold the position and take a few deep breaths. Feel the stretch across your upper back and between your shoulder blades.
- Release your arms and shake them out.
- Repeat the process, this time crossing your left arm under the right, and again bringing the palms or backs of the hands together.
- After holding the pose on both sides for a comfortable duration, release your arms, take a moment to roll your shoulders and stretch out your neck.
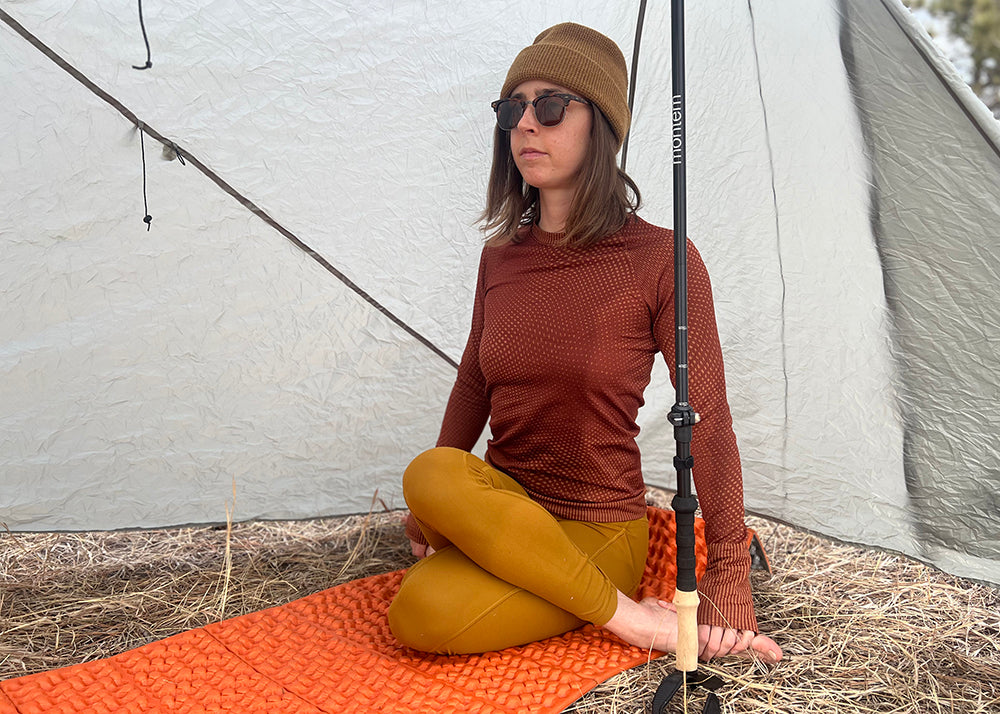
Thunderbolt (Vajrasana) Modification
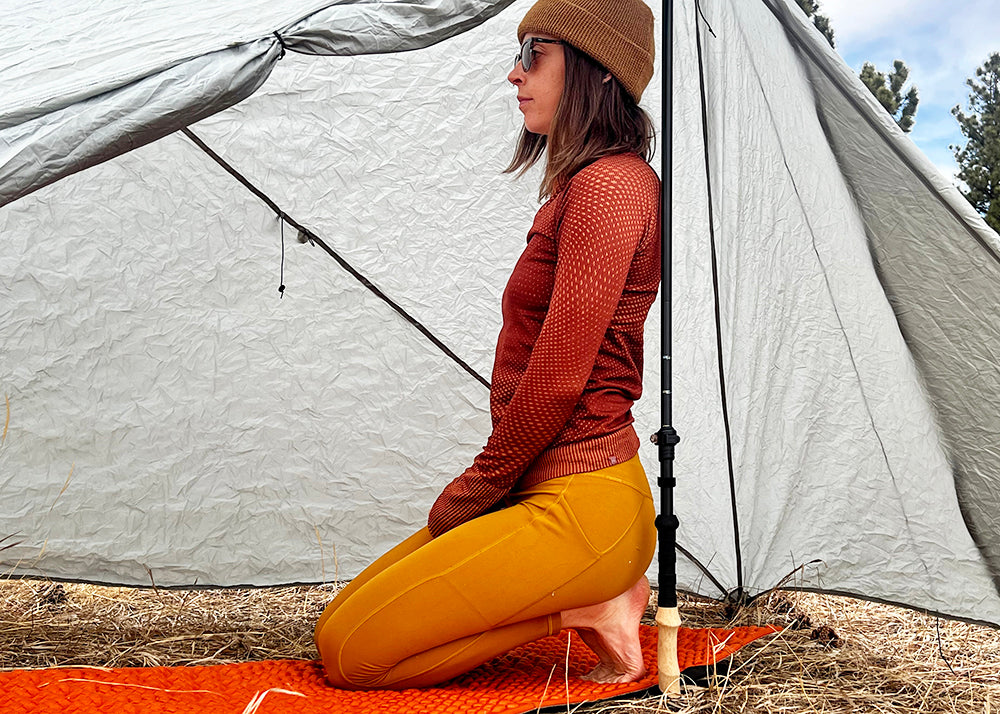
Thunderbolt Pose is going to provide a nice juicy stretch in the knees and tops of the thighs. We’re also going to add a modification to stretch out the facia of the feet, a much needed addition after walking over sharp rocks all day.
-
Begin by kneeling on the yoga mat with your knees and feet together, and the tops of your feet resting on the mat.
- Sit back on your heels. Ensure your weight is evenly distributed between both knees and both feet.
- Place your hands on your thighs, with your palms facing down.
-
Curl your toes under your feet. You should feel a stretch in the soles of your feet.
- Lengthen your spine and sit up tall. Imagine your spine is an extension of your neck, creating a straight line from the base of your spine to the crown of your head.
-
Breathe naturally and deeply, focusing on the rhythm of your breath.
- Hold the pose for as long as it feels comfortable.
- To come out of the pose, gently lean forward, and move into a kneeling position.
Corpse (Shavasana)

Ahhh, finally the pose we’ve all been waiting for - corpse pose. I mean who isn’t looking forward to crawling into their tent to play dead after a long day of strenuous hiking? Corpse pose is going to offer you the full body release that our muscles so long for, but we rarely allow them to have. Shavasana is a pose of deep relaxation, providing an opportunity for the body and mind to integrate the benefits of your yoga practice. It helps reduce stress, calm the nervous system, and promote a sense of overall well-being…kind of like backpacking!
Starting Position:- Begin by lying down on your back on your sleeping pad
- Keep your legs extended and let them fall open naturally.
- Place your arms alongside your body with your palms facing up.
-
Relax your hands and allow your fingers to naturally curl inwards.
- Gently tuck your chin towards your chest to lengthen the back of your neck.
-
Ensure that your head and spine are in a straight line.
- Let your eyelids become heavy, soften your facial muscles, and let go of any tension in your jaw.
- Take a few deep breaths to settle into the pose.
-
Allow your breath to become natural, focusing on the sensation of each inhale and exhale.
- Bring awareness to different parts of your body, starting from your toes and gradually moving up to the top of your head.
- Release any tension you notice in each area.
-
With each exhale, feel the weight of your body sinking into your mat.
-
Allow your mind to let go of thoughts. If your mind starts to wander, gently bring it back to the present moment.
- Stay in Shavasana for at least 5-10 minutes
- When you're ready to come out of the pose, begin by slowly bringing awareness back to your body.
- Gently wiggle your fingers and toes, and then roll onto your side.
- Take a few breaths before gradually coming back to a seated position.
I sincerely hope these yoga poses offer your body and mind some relief from the abuse it takes out there on the trail. Now you have a simple and nourishing yoga routine that will hopefully make thru-hiking significantly more enjoyable and less painful.
Continue Hiking with 'Grandpa': @bert.kertzer


1 comment
Rita
Thank you for the pose recommendations. Curious about the base layer top with thumb holes worn by the women in the photos. What brand is it and wondering where to find it. Thanks!